It’s just so tiresome to write your name and position at the end of every email you send. Sometimes while in urgency you just forget to mention and send email to your clients with no identity of you and your organization. To rectify the error, you again send email to your client stating your position and organization which does look unprofessional and unorganized.
Without any further do, we give you quick steps to create a signature for your Outlook account. You have the flexibility of creating the signature offline, online and mobile app. Once you grip the idea of creating the signature you can easily edit it and make it look more appealing.
For Offline Version of Outlook
Step 1: Open desktop or an offline version of Outlook account. Your desktop version of Outlook program appears to be Blue and White “O” envelope shape, situated either in desktop or taskbar.
Step 2: Open your email account. In the Home Toolbar on the left side click on “New Email”.

Step 3: Click on the “Signatures” button which is available in the “Drop Down Box” of Message Toolbar.

Step 4: Click on “Signatures” from the drop-down menu and click on “New” button which is available below the “Select Signature to Edit” text box present in the upper left side of Signatures. Type in your name in the New Signature box and click “OK”.

Step 5: In the Edit Signature box at the bottom of the page enter your name, designation along with your organization logo (optional) and click “OK”.

Step 6: Click on the “New Email” and again go to the Signatures menu where you will see a signature framed under your name, just click on the name.

Step 7: Your signature will automatically be replaced in every mail you reply or forward.

For Online Version of Outlook
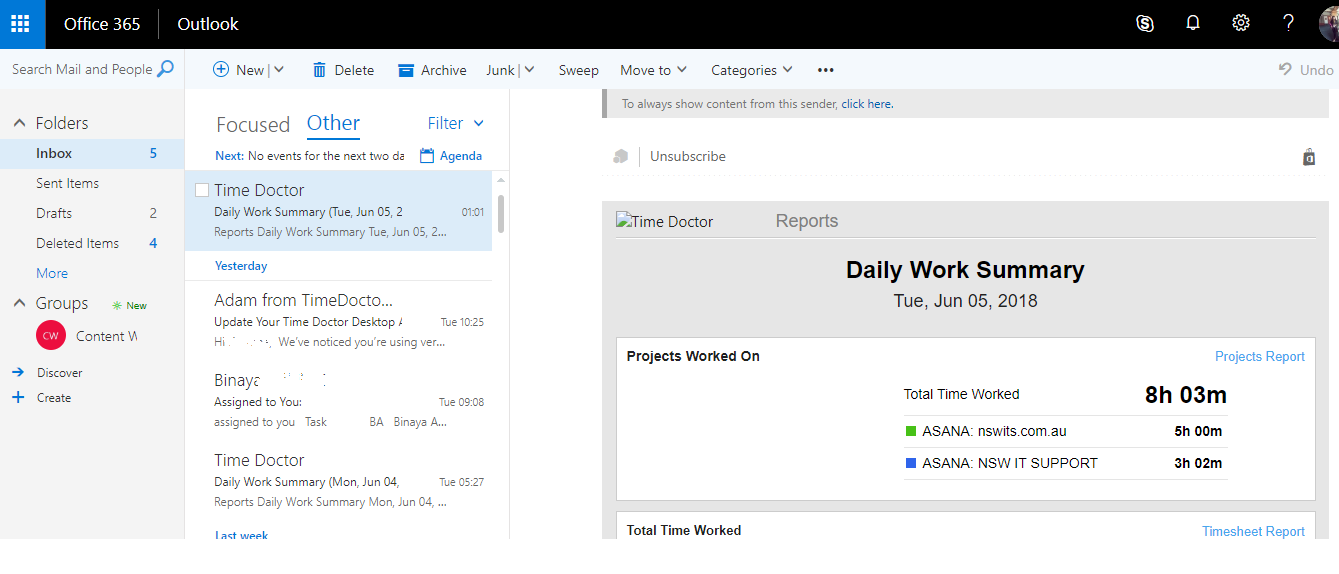
Step 1: In your preferred browser go to www.outlook.com . Your outlook inbox will directly open if you have already signed in. However, if you are not signed in, feed in your email address with password.

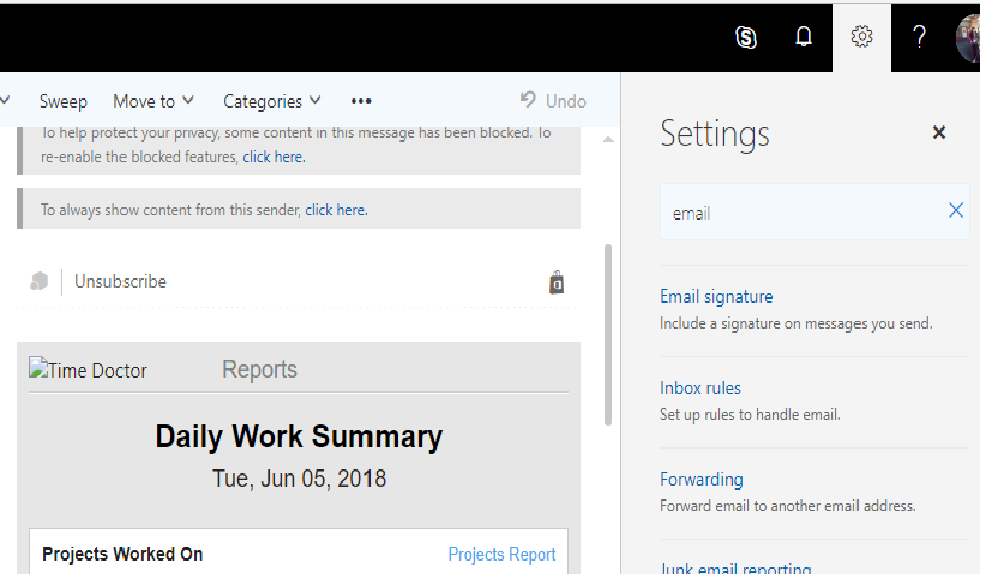
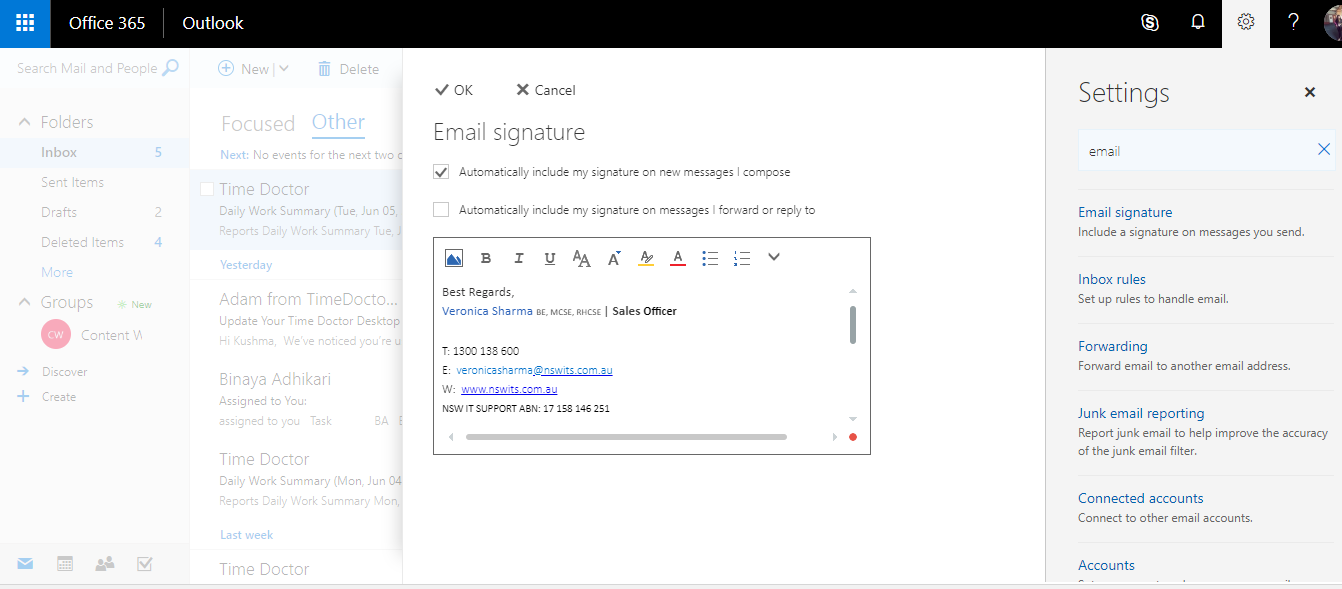
Step 2: On the upper right side of your Outlook you will see a geared shaped icon. Click on the “Setting” menu where you will see a drop-down menu. At the top of the setting bar you will see a search box. Just type “Email Signatures” and click it.

Step 3: Enter your signature into the text box and make sure to mark on the dialogue box which appears above the “Edit Signature” box. After you fill in your signature click “OK”.

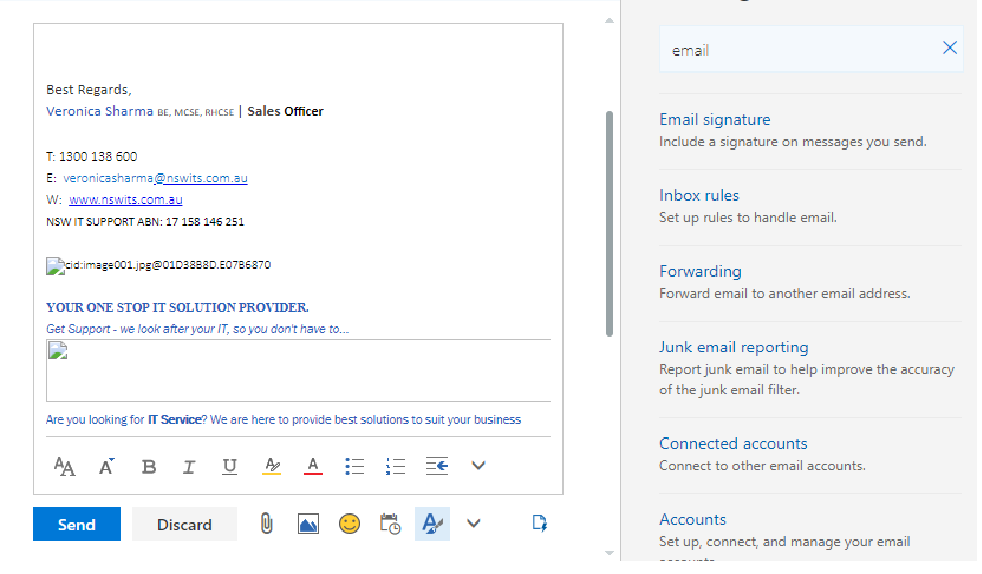
Step 4: Your signature will appear in every mail you compose or forward.

Written By:
SEO Specialist Binaya Adhikari


